Virtualization
First I prepared safe environment where I was able to conduct analysis. I used Virtualbox in order to create virtual machines and install necersary software.
Virtualbox can be downloaded from this site:
Additionaly I installed “VirtualBox Extension Pack” which allowed me to use some feautures.
As my main system I chose Windows 10 Home 64-bit with latest updates. You can find it here:
Having choosen the system, I created virtual machine and installed system on it. I think that the process is so intuitive that it doesn’t require any explanation.
After installation of the system I created a snapshot because if the system gets damaged, I can easily restore it.
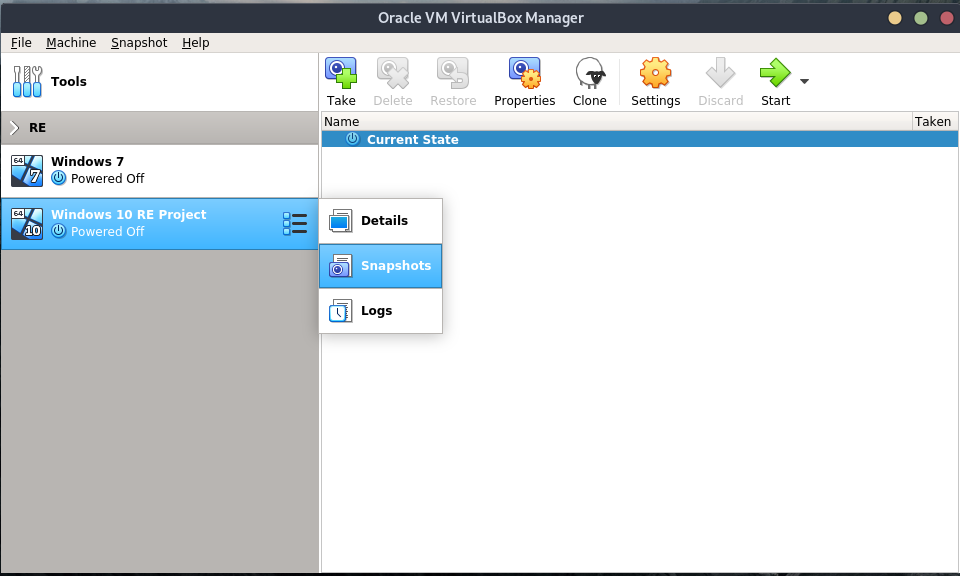
To do that you have to expand context menu and choose “Snapshots”.
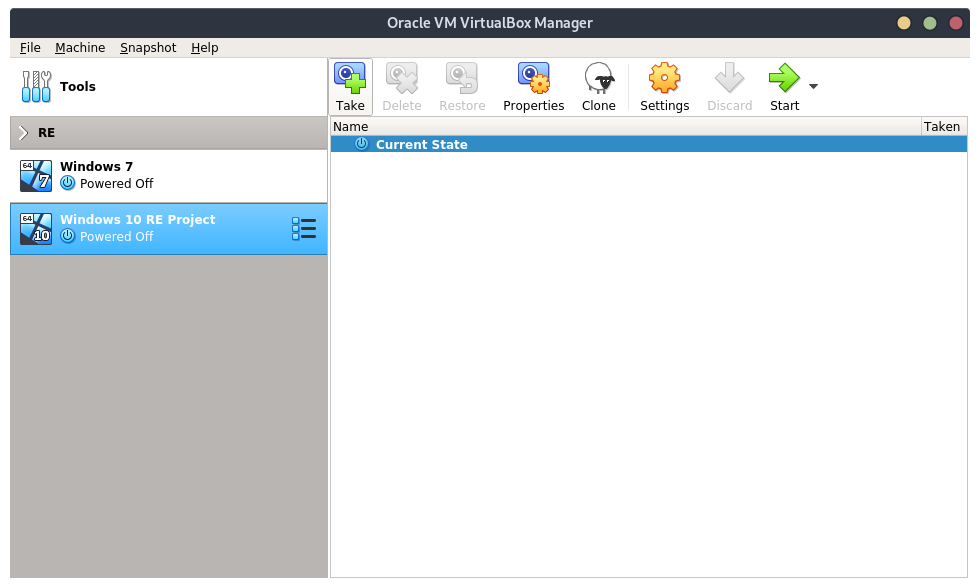
Then click “Take”.
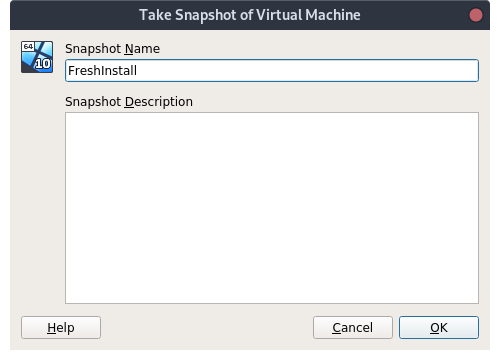
In that window you can provide a name and comment for your snapshot.
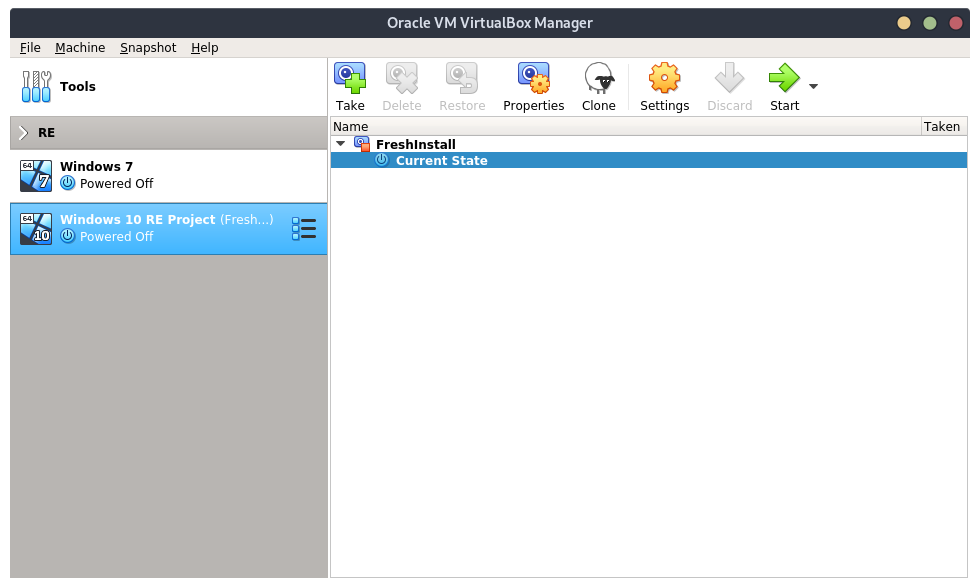
If everything is correct, you should see your named snapshot.
Software installation
When virtual machine was ready and “snapshoted” I provided access to the Internet and downloaded folowing programs:
I also omitted the process of installation because it’s quite easy. In most cases you have to left default values and click “Next”. Ghidra has a more complex installation because you have to provide JDK 11 and modify your PATH. Don’t worry though Ghidra’s manual extexts how to do that.
After software installation I changed network adapter from “Briged Adapter” to “Internal Network”.
A listening machine
Because my main machine worked in isolated network I also created second machine in order to capture network traffic from the isolated one. I decided to use Kali Linux because it has pre installed all the tools which I wanted to use.
Note here that you can download ISO or OVA file which can be imported to VirtualBox and by this process of system installation can be omitted.
If you decide to choose another Linux distrubition, you have to manually install:
- Wireshark
- INetSim
- Burp Suite
Additionaly I installed tools to analyse OLE2 files (oletools and oledump).
For the good start:
apt update
apt upgrade
Now it’s time for python packet manager:
apt install python-pip
Then oletools:
pip install oletools
And oledump:
wget https://didierstevens.com/files/software/oledump_V0_0_44.zip
unzip oledump_V0_0_44 -d oledump
At the end I also changed network adapter from “Briged Adapter” to “Internal Network”.
Software configuration and addressing of the systems
To provide proper packet flow it requires a valid addressation. I edited /etc/network/interfaces file by adding following content:
auto eh0 iface
eth0 inet static
  address 10.10.10.1
  netmask 255.255.255.0
Then I started interface:
ifup eth0
Here it is very important to correctly identify network interfaces if you want to check how your network interfaces were marked use:
ip -c a
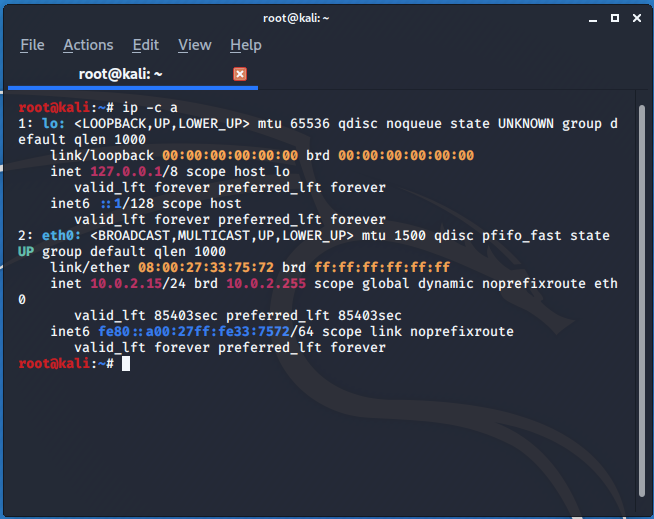
You should see two interfaces (if you set only one network adapter). One of them is loopback marked as “lo”. The secod one however, is the one which you want to configure. In my case it was eth0. Next I configured software. Firstly I chose INetSim. I created directory to store configuration and output files.
mkdir malware-analysis
Directory fo INetSim configuration:
mkdir inetsim-ma
Then I copied configuration files:
cp /etc/inetsim/inetsim.conf malware-analysis/inetsim-ma/
cp -r /var/lib/inetsim malware-analysis/inetsim-ma/data
cd malware-analysis/inetsim-ma/
chmod -R 777 data/
And edited inetsim.conf:
#service_bind_address 10.10.10.1
service_bind_address 0.0.0.0

#dns_default_ip 10.10.10.1
dns_default_ip 10.10.10.1

#https_bind_port 443
https_bind_port 8443
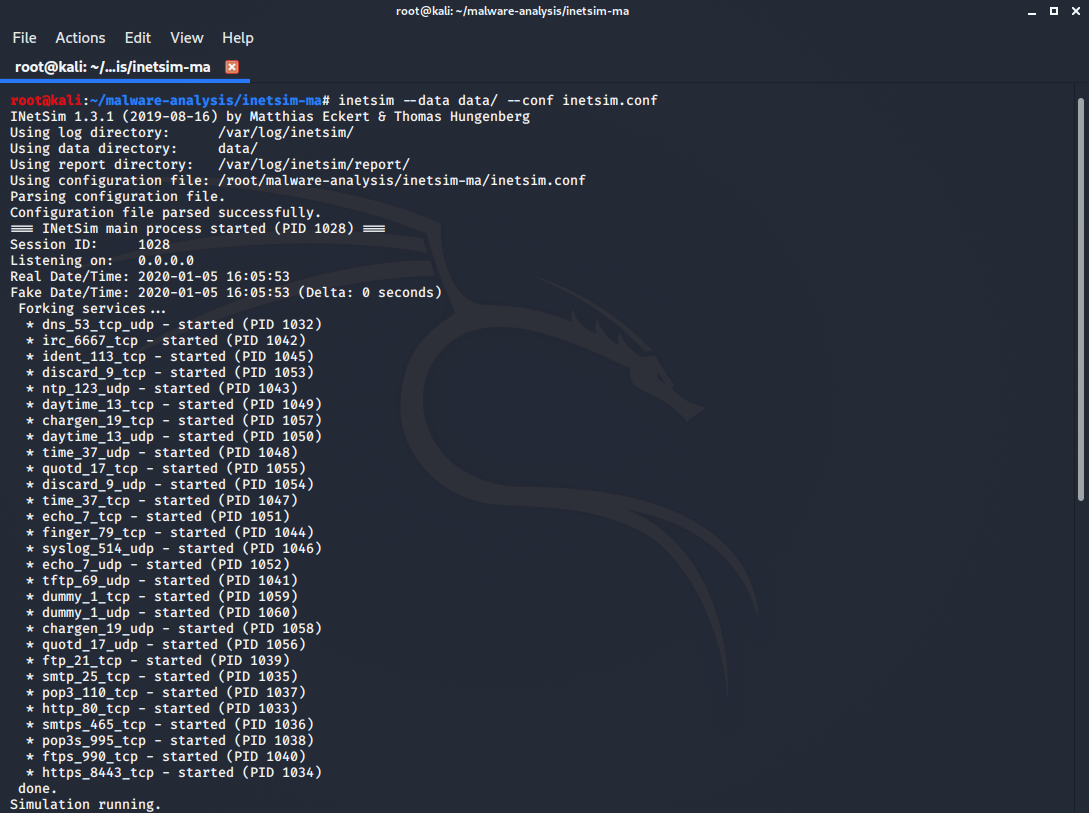
After that I launched INetSim:
inetsim –data data/ --conf inetsim.conf
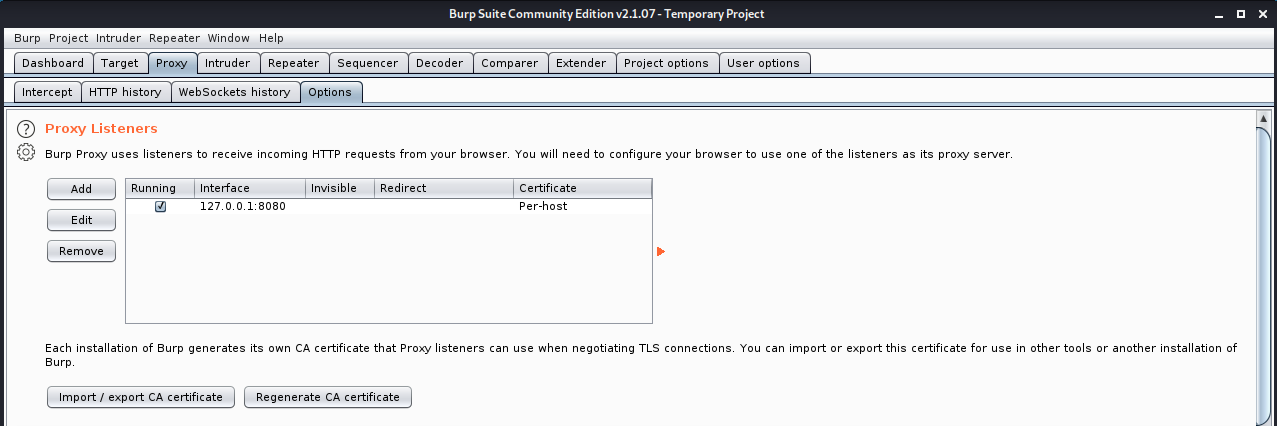
Next it was time for Burp Suite. I started it and clicked Proxy -> Options.
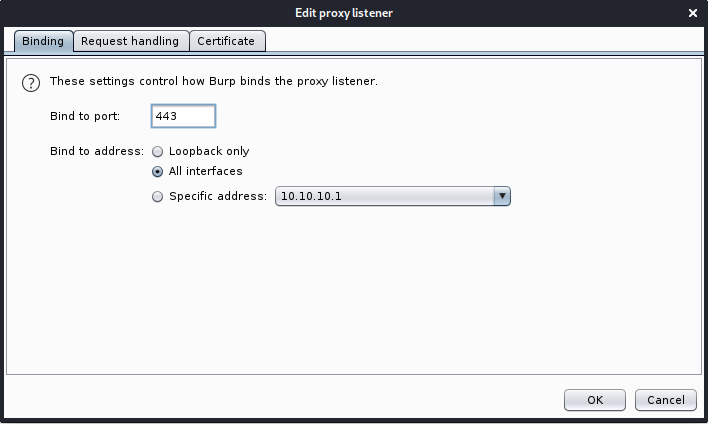
Then I edited existing listener by selecting it and clicking “Edit”.
- In Binding:
- Bind to port: 443
- Bind to address: all interfaces
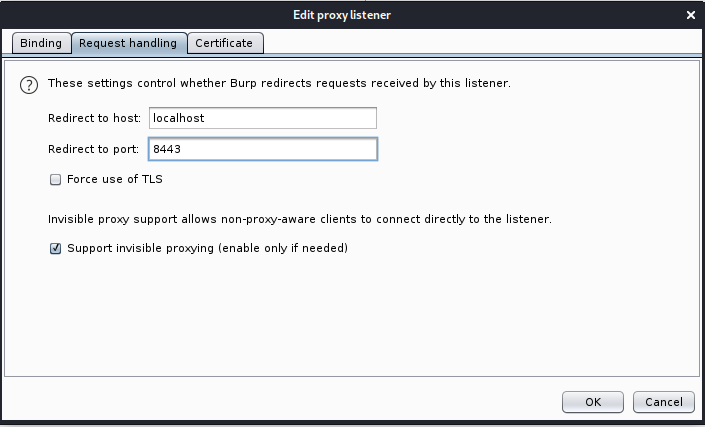
- In Request handling:
- Redirect to host: localhost
- Redirect to port: 8443
- Select an option Support invisible proxying
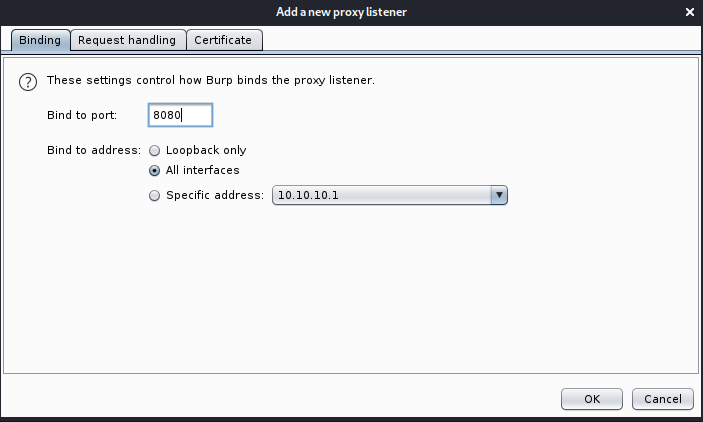
I added one aditional listener in order to download Burp’s CA on Windows machine.
- In Binding
- Bind to port: 8080
- Bind to adress: All interfaces
My final settings:

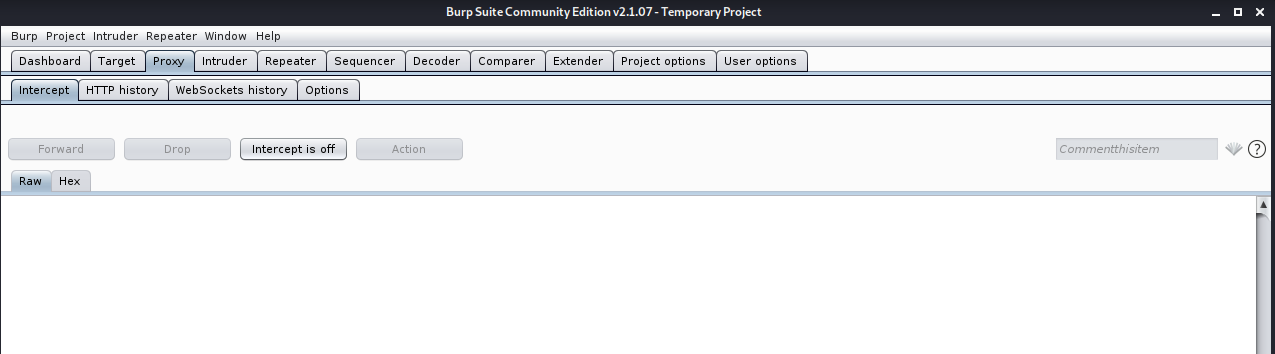
At the end I disabled interception. Proxy -> Intercept -> Intercept is off
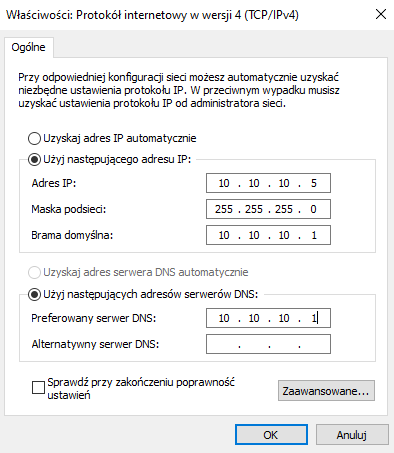
On Windows I configured network interface.
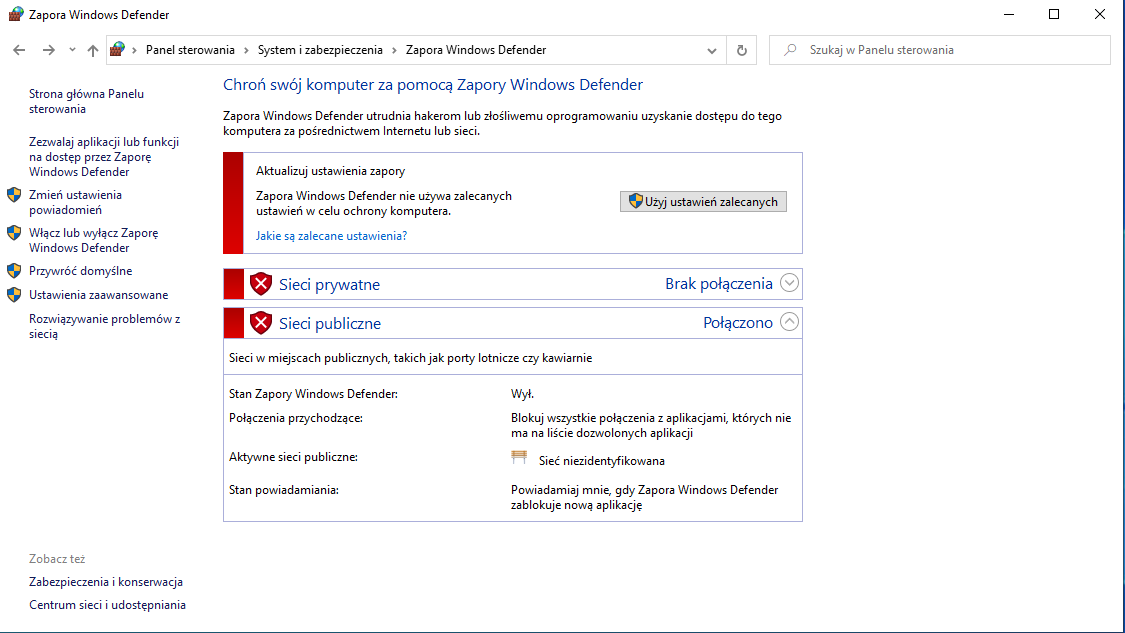
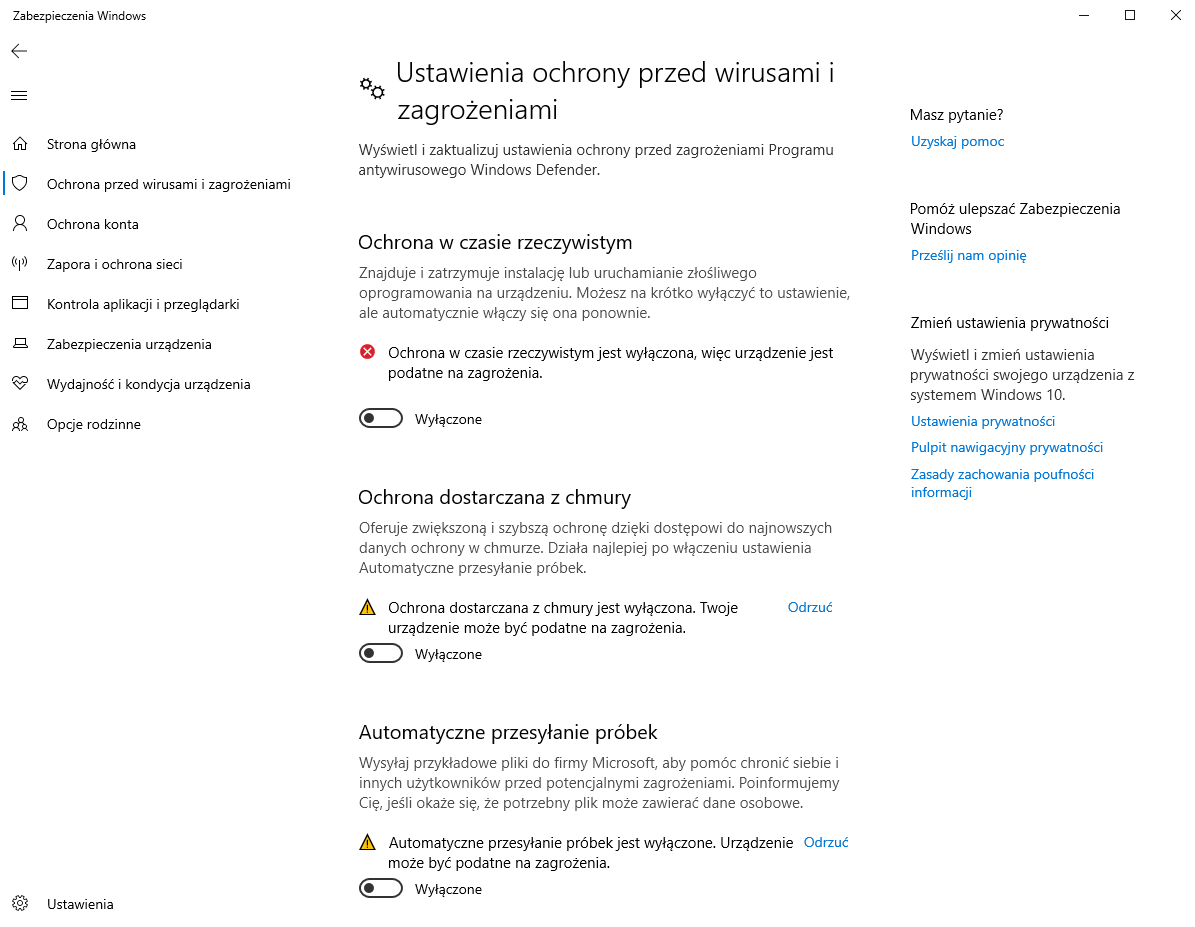
I deactivated Windows Defender and firewall.
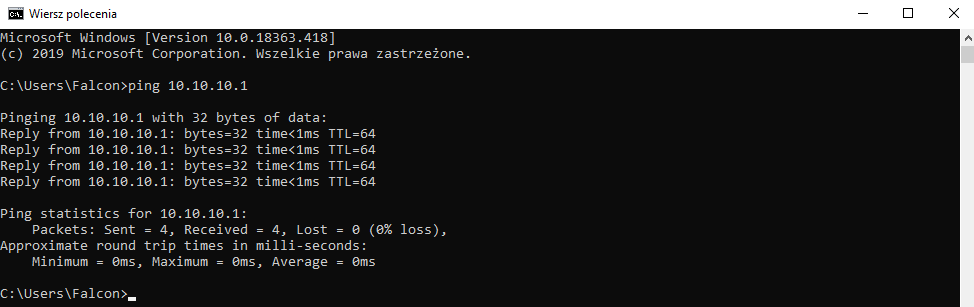
And I checked my network by using ping.

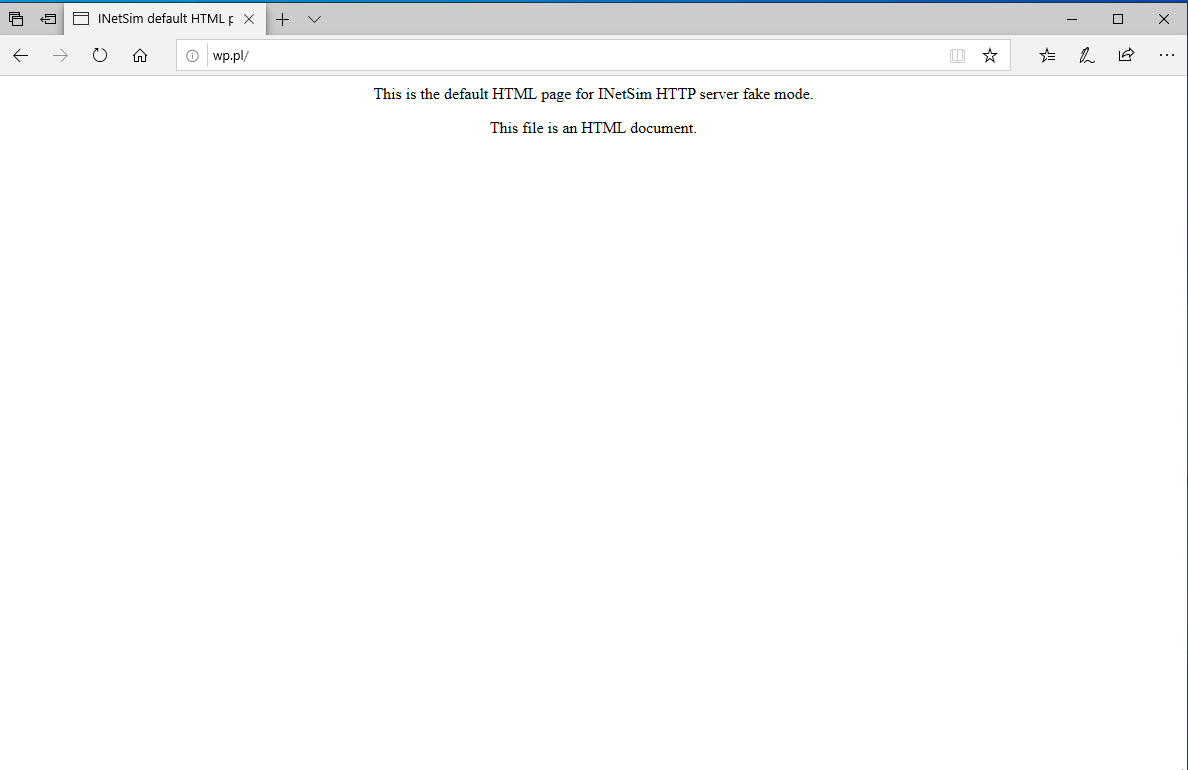
I also checked INetSim by providing any valid url.
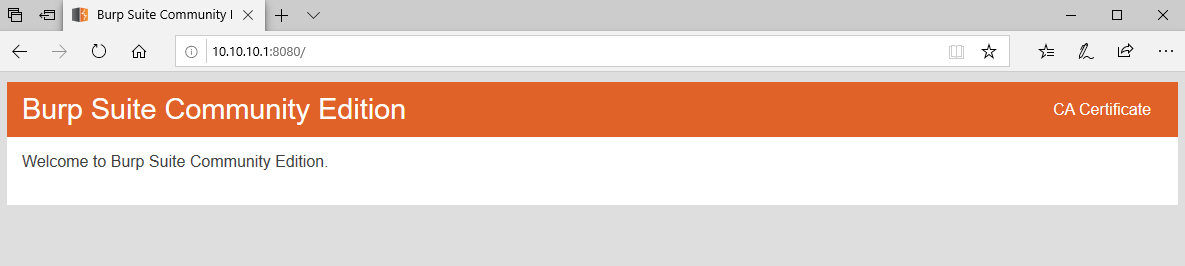
At the end of this process I installed Burp CA on Windows. I started browser and went to 10.10.10.1:8080.
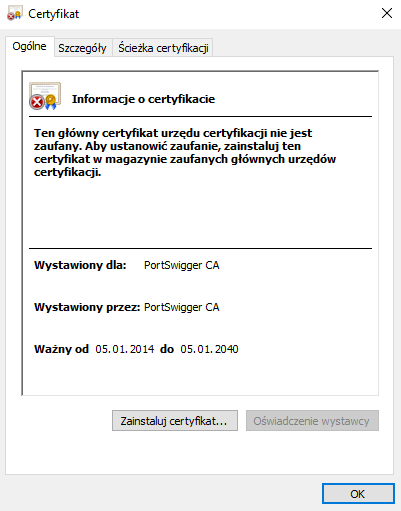
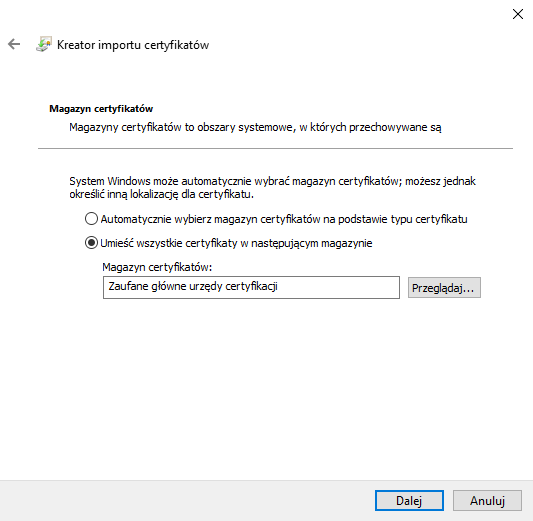
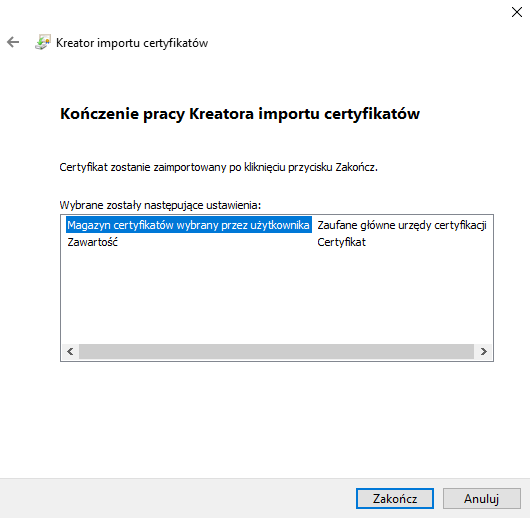
I clicked in “CA Certificate”, saved certificate on my disc and opened it by double clicking.
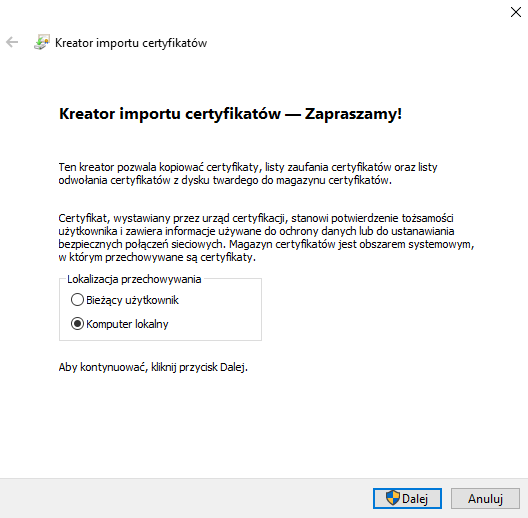
Install certificate → Local computer → Next→ Certificate’s storage: Trusted CA → Next → End.
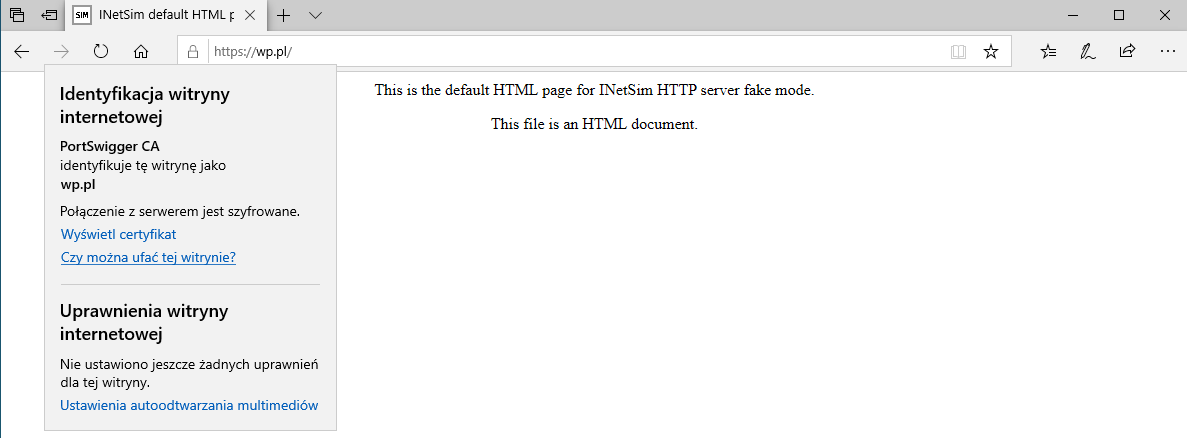
After proper installation you should see that page for all https sites.
Finally it’s time for main part of analysis!